
In the past few weeks, there have been a TON of news stories circulating on the web about facebook and privacy. Through about 500 km of driving, I decided I was going to try to do something and take advantage of facebook lists. I’m still, as of 8 May 2010, working through this; however, here are some steps you can take to improve your privacy on facebook.
But, in general, if you don’t want your friends boss total strangers city state country the internet to know about it, don’t put it up there. Even if you set everything right today, it is hard to tell what bug is lurking in the background or what change will be made tomorrow that will make this impossible.
For the details of this, click the read more link….
Image from francobouly via flickr
[Creating a Facebook List] [Limiting items Using Lists]
To do this, you’ll need to set up some lists first. I have lots of lists that I use to group friends, but for this, I made two lists: CanSeeEverything and CanSeeNothing. I’m also going to end up and create one more limited list and use that for basic “friends”…but that is still in the planning stages. I also need to tweak this because facebook uses the idea that most restrictive wins (this means that if I have you in both groups, you’ll end up and see nothing)
Creating a Facebook List
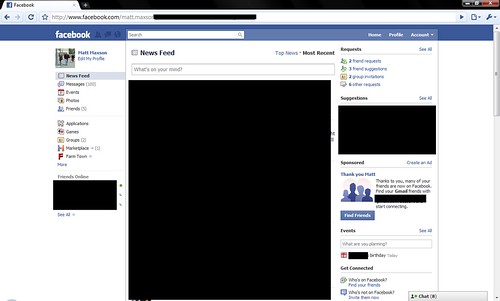
1) Go to your facebook profile page:

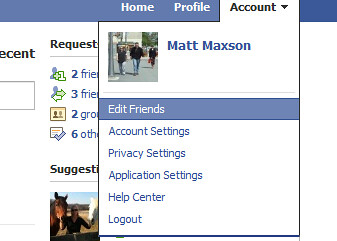
2)Click the Account dropdown in the upper right and choose Edit Friends:
3) Your friendpage will open up. The middle of the page will show a list of your friends. Any existing lists will show on the left side of the page.
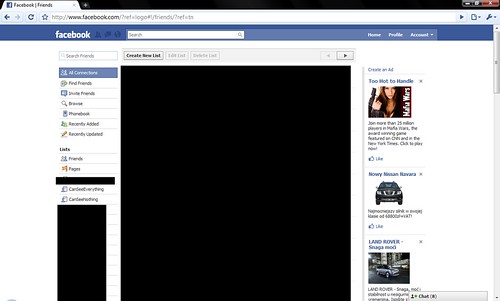
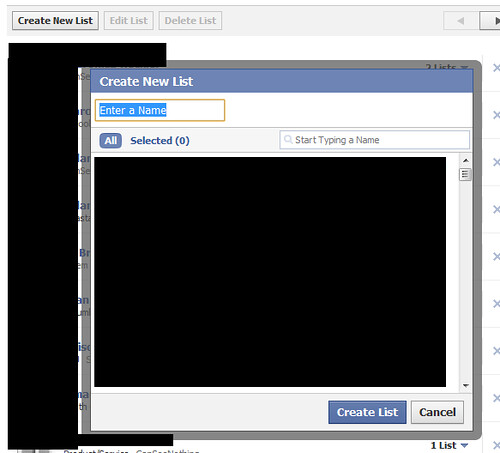
4)Click the Create New List button in the top center of the page. When you do that, the window below will pop-up. Enter the name o the list where it says “Enter a Name” and click the Create List button. Repeat this process for however many lists you want to create.
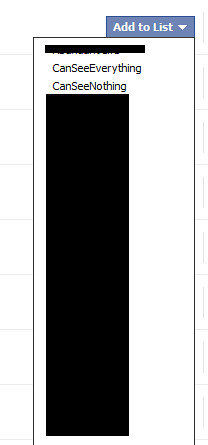
5)Your list is created. Now, look through your friends list until you find a friend you want to add to a list. If they are in no lists, the text at the right of the section will show Add to List. If they are in lists, it will show 1 List, 2 lists, … , N lists. Click the down arrow.

6) A list of lists will pop up/drop down. You can see all of your lists here. To choose one, simply click on the list you want to add the person to. You can click multiples here. When you are done, just click someplace else on the screen.
7)Now, when you look at that friend, you will see that you can easily see what lists they are in.

Limiting Items Using Lists
Note, before you do this, you need to have at least one list set up. For how to do that, look at the instructions above.
1) Login to facebook and go to your profile page.
2) In the uppe-left corner, click the Account drop down and choose Privacy Settings

3) The privacy settings window will open up. You should drill into each of these because there are settings two and three levels deep. I just started with the first one Personal Information and Posts.
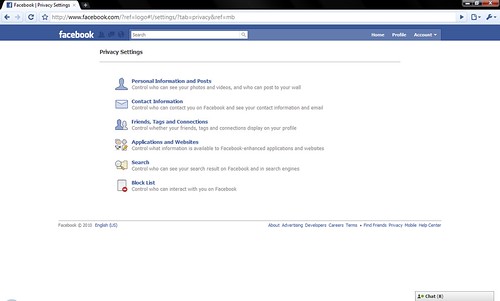
4) Here you see the general layout of the page. They have the site divided into different groups of objects you can control settings for. This page is for your personal information. You’ll see the item on the left and the current setting on the right.
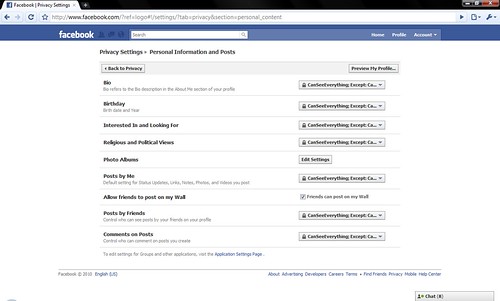
5) If you have accepted the defaults, most of your settings will be set to Only Friends or Friends of Friends. This is a picture of how it will look.
![]()
6) To change the settings, click the button. On the dropdown, choose customize.
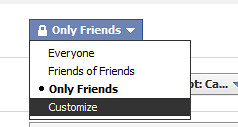
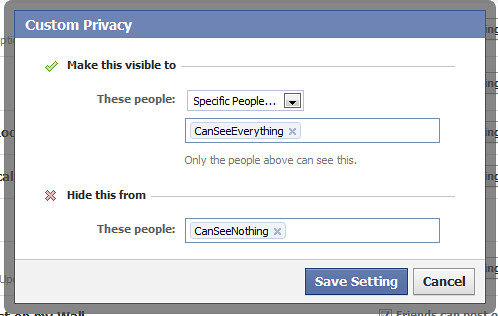
7) A window will pop-up where you can choose different options. You can limit it to what you see (friends of friends, only friends, specific people, or only me). If you choose specific people, you can choose either a list or name people individually. To use a list, choose specific people

8) A box will appear where you can start typing. In my example, I chose that the list CanSeeEverything will be allowed to see my posts. You can have multiple lists or a mix of lists and people. You can also choose to set a list or people who will be denied from seeing this item. In this case, the group CanSeeNothing will not be able to see this item. When you are done, click the save setting button.
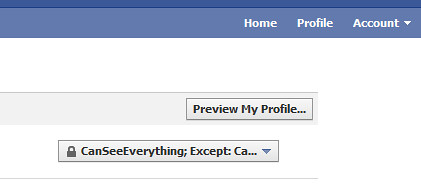
9) You will be returned to privacy page where you should be able to see what has been done. To change it, just click the button. You can also use the Preview My Profile button to test out your changes. If you click it….
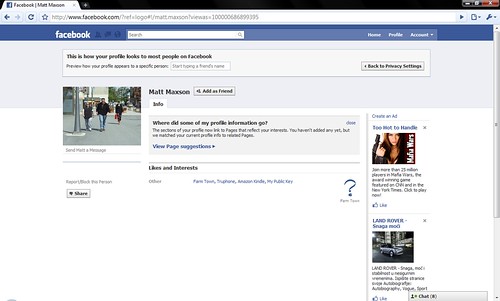
10) You’ll see how your profile looks to no one (meaning someone who isn’t logged into Facebook).
11) If you want to check out a specific person, there is a box at the top of the page where you can start typing someone’s name. Do this to confirm your lists are working how you think they are.

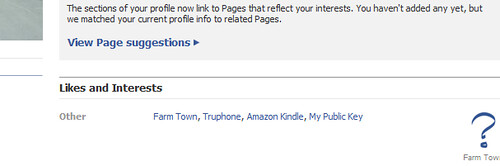
12) One thing I have noticed is that regardless of what I set, the likes and Interests ALWAYS show up. For this reason, I have had to “unlike” some groups…..
[Updated 2012-12-26 10:14:35] The basics of how to do this haven’t changed; however, I think facebook makes you go to a different place before you can edit lists. I also updated the read more link.